Accurately measuring snowfall is critical for winter maintenance professionals, yet it’s a task that remains challenging. Despite advances in technology, manual measurements are still preferred for their accuracy and reliability. Understanding how to properly measure snow ensures you get the most accurate data, helping you plan and manage your winter operations more effectively. In this post, we’ll explore why snow is difficult to measure, how snow density varies, and provide a step-by-step guide for manual measurement.
Why Is Snow So Hard to Measure?
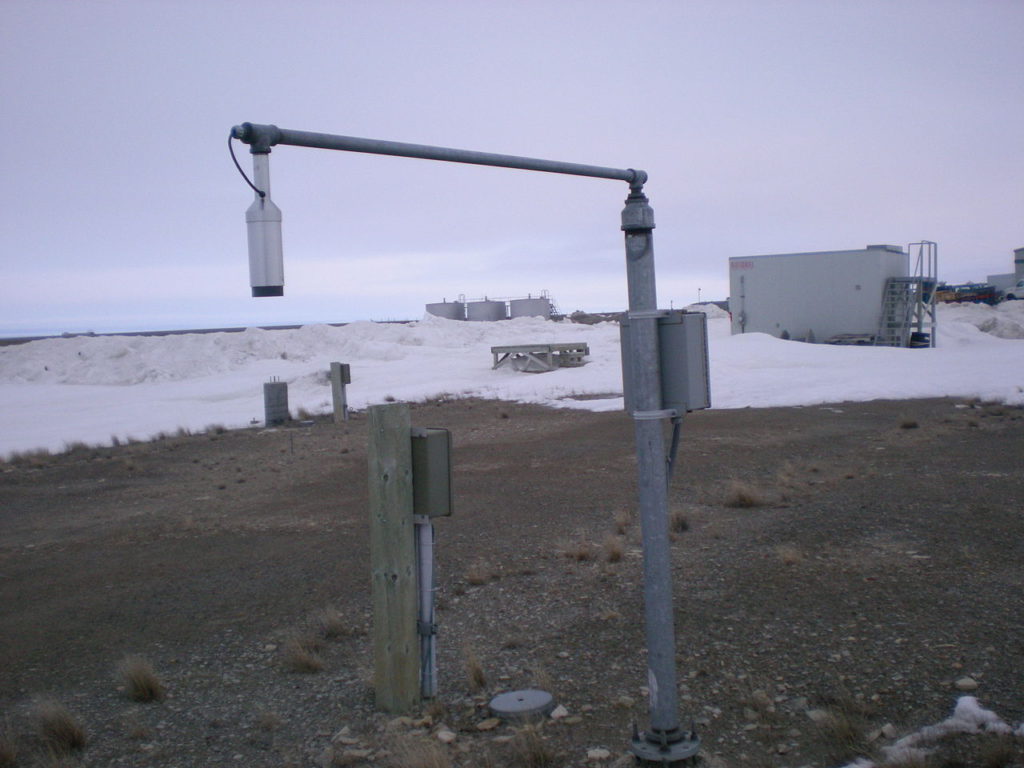
Unlike rain, which can be measured with relative ease using automated rain gauges, snow presents unique challenges. Snowfall can vary greatly in density, from light, fluffy snowflakes to heavy, wet snow. Additionally, wind can cause snow to drift, leading to inconsistent accumulations across even a small area. These variations make it difficult for automated systems to capture accurate snowfall totals. This is why manual measurements remain the most reliable method for assessing snow accumulations. A human observer is able to account for these differences, making the measurement more accurate.
Snow Density and the Snow-to-Liquid Ratio
One important factor to consider when measuring snow is its density. Snow density can vary dramatically depending on temperature, wind conditions, and even the type of storm. For instance, snow that falls in colder conditions tends to be lighter and fluffier, while snow in warmer conditions can be heavy and wet.
To express this variability, we use the snow-to-liquid ratio (SLR). This ratio represents how much liquid water would result from melting a given amount of snow. For example, a common snow-to-liquid ratio is 10:1, meaning 10 inches of snow would melt down to 1 inch of water. The same principle applies in metric units, with 10 cm of snow melting down into 1 cm (10 mm) of water. However, this ratio can vary from as low as 5:1 for heavy, wet snow to as high as 50:1 for extremely fluffy snow.
How to Measure Snow Manually
Given the challenges of automating snow measurements, winter maintenance professionals often rely on manual methods. Below is a simple, reliable way to measure snow accumulations using a ruler and a snow gauge.
What You’ll Need:
- A standard ruler or snow measuring stick
- A snow gauge (optional, but helpful for comparison)
- A snow board
- A flat, open area free of obstructions like buildings or trees
Step-by-Step Instructions:
- Choose the Right Spot: Select an open, flat area that is free from obstructions like trees, buildings, or large snowdrifts. Avoid areas where the wind has caused significant drifting, as this can skew your results. Small meadows are ideal since they provide an open area surrounded by trees to reduce blowing snow.
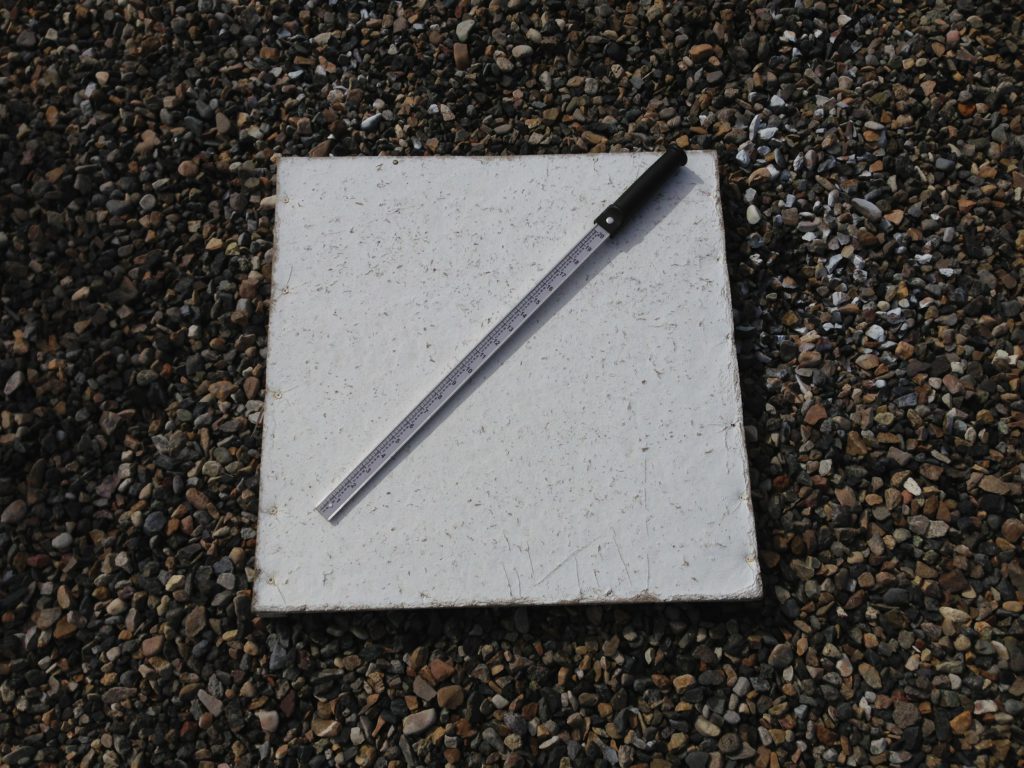
- Set Up a Snow Board: If there is already snow on the ground from a previous storm, it is necessary to use a snow board. A snow board is a flat, hard surface where measurements can be taken. The snow board can then be cleared so that only new accumulations are measured next time.
- Measure at Multiple Locations: To get an accurate snowfall total, measure at least three different spots in the same general area. This accounts for any minor variations in snow depth caused by wind or terrain. If there is significant drifting, it may be necessary to take more measurements.
- Use the Ruler: Insert the ruler straight down into the snow until it touches the ground. Be sure to keep it vertical to avoid an inaccurate reading. Take note of the depth at each location.
- Average Your Measurements: Take the average depth from your measurements to get the average snowfall depth for that area.
- Use a Snow Gauge to Measure Density: If you have a snow gauge, you can melt the snow that fell into it and then calculate the snow-to-liquid ratio (density). To melt the snow, add a measured amount of warm water to the gauge. Once the snow is melted, measure the total amount of water, then subtract the amount of warm water that was added. This final total is called the snow-water equivalent. You can divide the new snow depth by the snow-water equivalent to calculate the snow-to-liquid ratio. For example, if the new snow depth was 6 inches, and the snow-water equivalent was 0.25 inches, the snow-to-liquid ratio is 24:1 (6 / 0.25). Calculating the snow-to-liquid ratio is useful because it can indicate if your measurement was accurate. For example, if your SLR was very low (e.g., 6:1) but the snow was very fluffy, that suggests there was an error, as an SLR of 6:1 means the snow should have been heavy and wet.
- Record Your Data: Keep a log of your snowfall measurements along with the time, date, and weather conditions. This information can be invaluable for tracking trends and planning winter maintenance activities.
Conclusion
Measuring snowfall accurately is crucial for winter maintenance professionals to make informed decisions. While it may seem simple, variations in snow density and accumulation make this a complex task. Manual measurements remain the gold standard for accuracy, and understanding the basics of snow-to-liquid ratios and proper measurement techniques ensures you’re getting the most reliable data possible. By following these steps, you can confidently assess snowfall totals and make more informed decisions in your winter maintenance planning.


